Photography has been my favorite hobby for quite a while. I have owned various cameras over the years, starting with the Canon Rebel and moving on to the FujiFilm X100F, but it was not until recently that I found the gear that achieves everything I’ve ever wanted from a camera and lens.
For the first few months after Peter was born, I became increasingly frustrated as I wasn’t able to capture the quality of shots of him I was aiming for. I was determined to find a camera that would consistently deliver the type of image I had in my mind’s eye and was ready to invest more price-wise to achieve that outcome.
I spent quite a bit of time researching, and finally landed on the Sony A7 III with the Sigma 35mm F1.4 art lens. I must thank and credit my friend Sally (and her blog Roselind Co.) for recommending this set — she was right, and they have made my photography dreams come true!
I have been working a lot on my technical abilities and now shoot almost exclusively using manual settings, but I can attest that you can get your photos to look pretty close to professional with minimal know-how (and I will share a few simple tips for that later in this post):
Here’s what I love about this set:
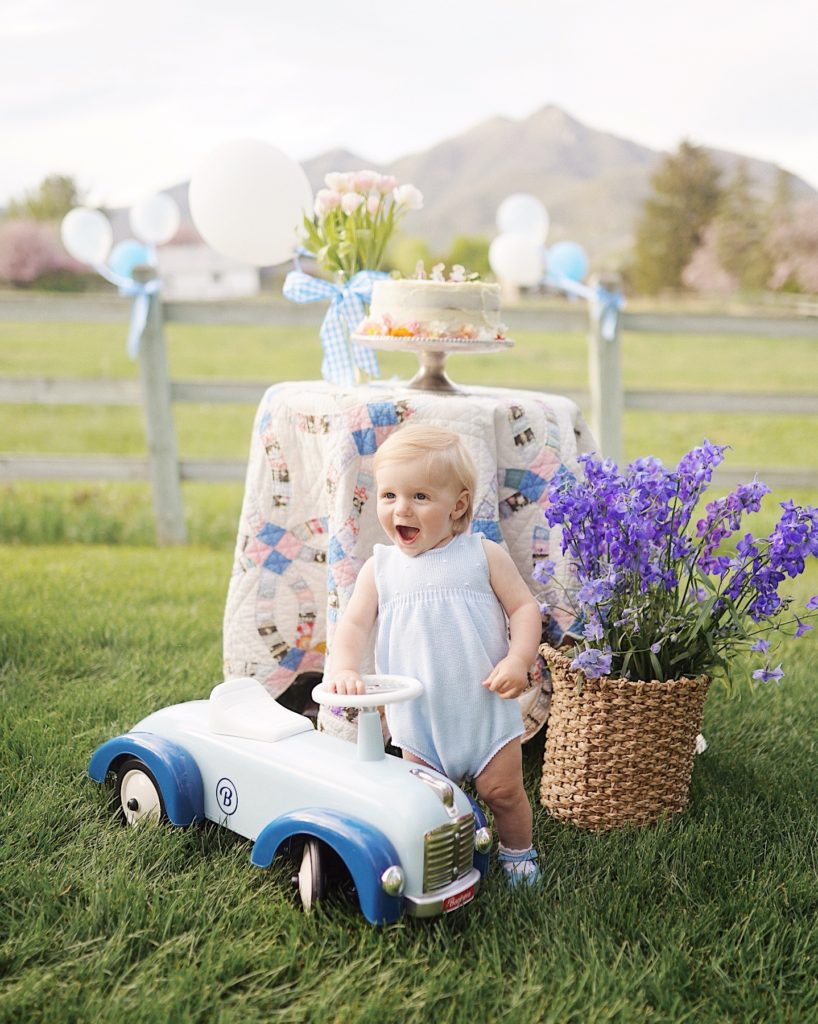
- The camera’s auto-focus is absolutely incredible, which makes it perfect for capturing a baby on the move. The level of detail captured is remarkable, and the eyes are always in crisp focus.
- The lens allows an extremely shallow depth of field, producing a beautiful blurred background (“bokeh”) effect, while still having a wide frame so that you can pack a lot into your shot (I had experimented in the past with lenses that would give me the blurred background effect at the cost of a super tight crop and soft focus on the image overall).
- It’s mirrorless, which means you can see in real time through the digital screen how your settings will affect the image. Compared to the Canon cameras I’ve used where you don’t know how the image will look until AFTER you take the photo and play it back (only to be dismayed when it’s completely overexposed), this makes it so much easier to mess around with the manual settings and achieve your desired result.
- It is relatively easy to use, which means you can hand it to a stranger, ask them to take your photo, and get something pretty good back (most of the time)! Compared to past cameras where this was simply not an option, this is a huge perk.
My simple tips for using this camera for beginners not yet comfortable with manual settings:
- Keep the camera on “A” mode, which stands for “Aperture Priority,” then set the F-stop to 1.4. What this does is keeps the depth of field as shallow as possible to produce that beautiful blurred background effect, and lets the camera automatically adjust all other settings.
- From there, I use the exposure dial to simply lighten/darken the image to my desired level.
Finally, a camera gadget I couldn’t live without is my chip dongle! This little guy makes it so easy to instantly download your photos onto your phone. Yes, cameras these days have a wifi function, but it’s often very slow and I find the dongle to be a million times faster and easier.